

Hey, it’s Steve from CT Home Repair and Tutoring LLC.
The bathroom conversion is moving along—framing done, electrical and insulation in place, and now it’s time for the walls. Today I tackled the mudding, sanding, and priming on the first section. This is the unglamorous step that makes everything look sharp later, and it’s easier than it seems if you take it slow.
I took pictures of it so you can see how to get a smooth surface without fancy tools or pro skills. If you’ve ever stared at a bumpy drywall seam wondering where to start, this is for you.
What You’ll Need (Basic Stuff)
What You’ll Need for Drywall Prep
A 6-inch drywall knife, joint compound, mesh tape, 120-grit sandpaper, primer, and a paint roller. That’s it—no special gadgets required.
Step-by-Step: From Rough to Ready
Step 1: First Mud Coat
Step 1: Tape the Seams and Apply the First Coat
Applied mesh tape over the seams and a thin first coat of compound with the 6-inch knife. Worked it smooth but didn’t worry about perfection—this coat is just to fill gaps.
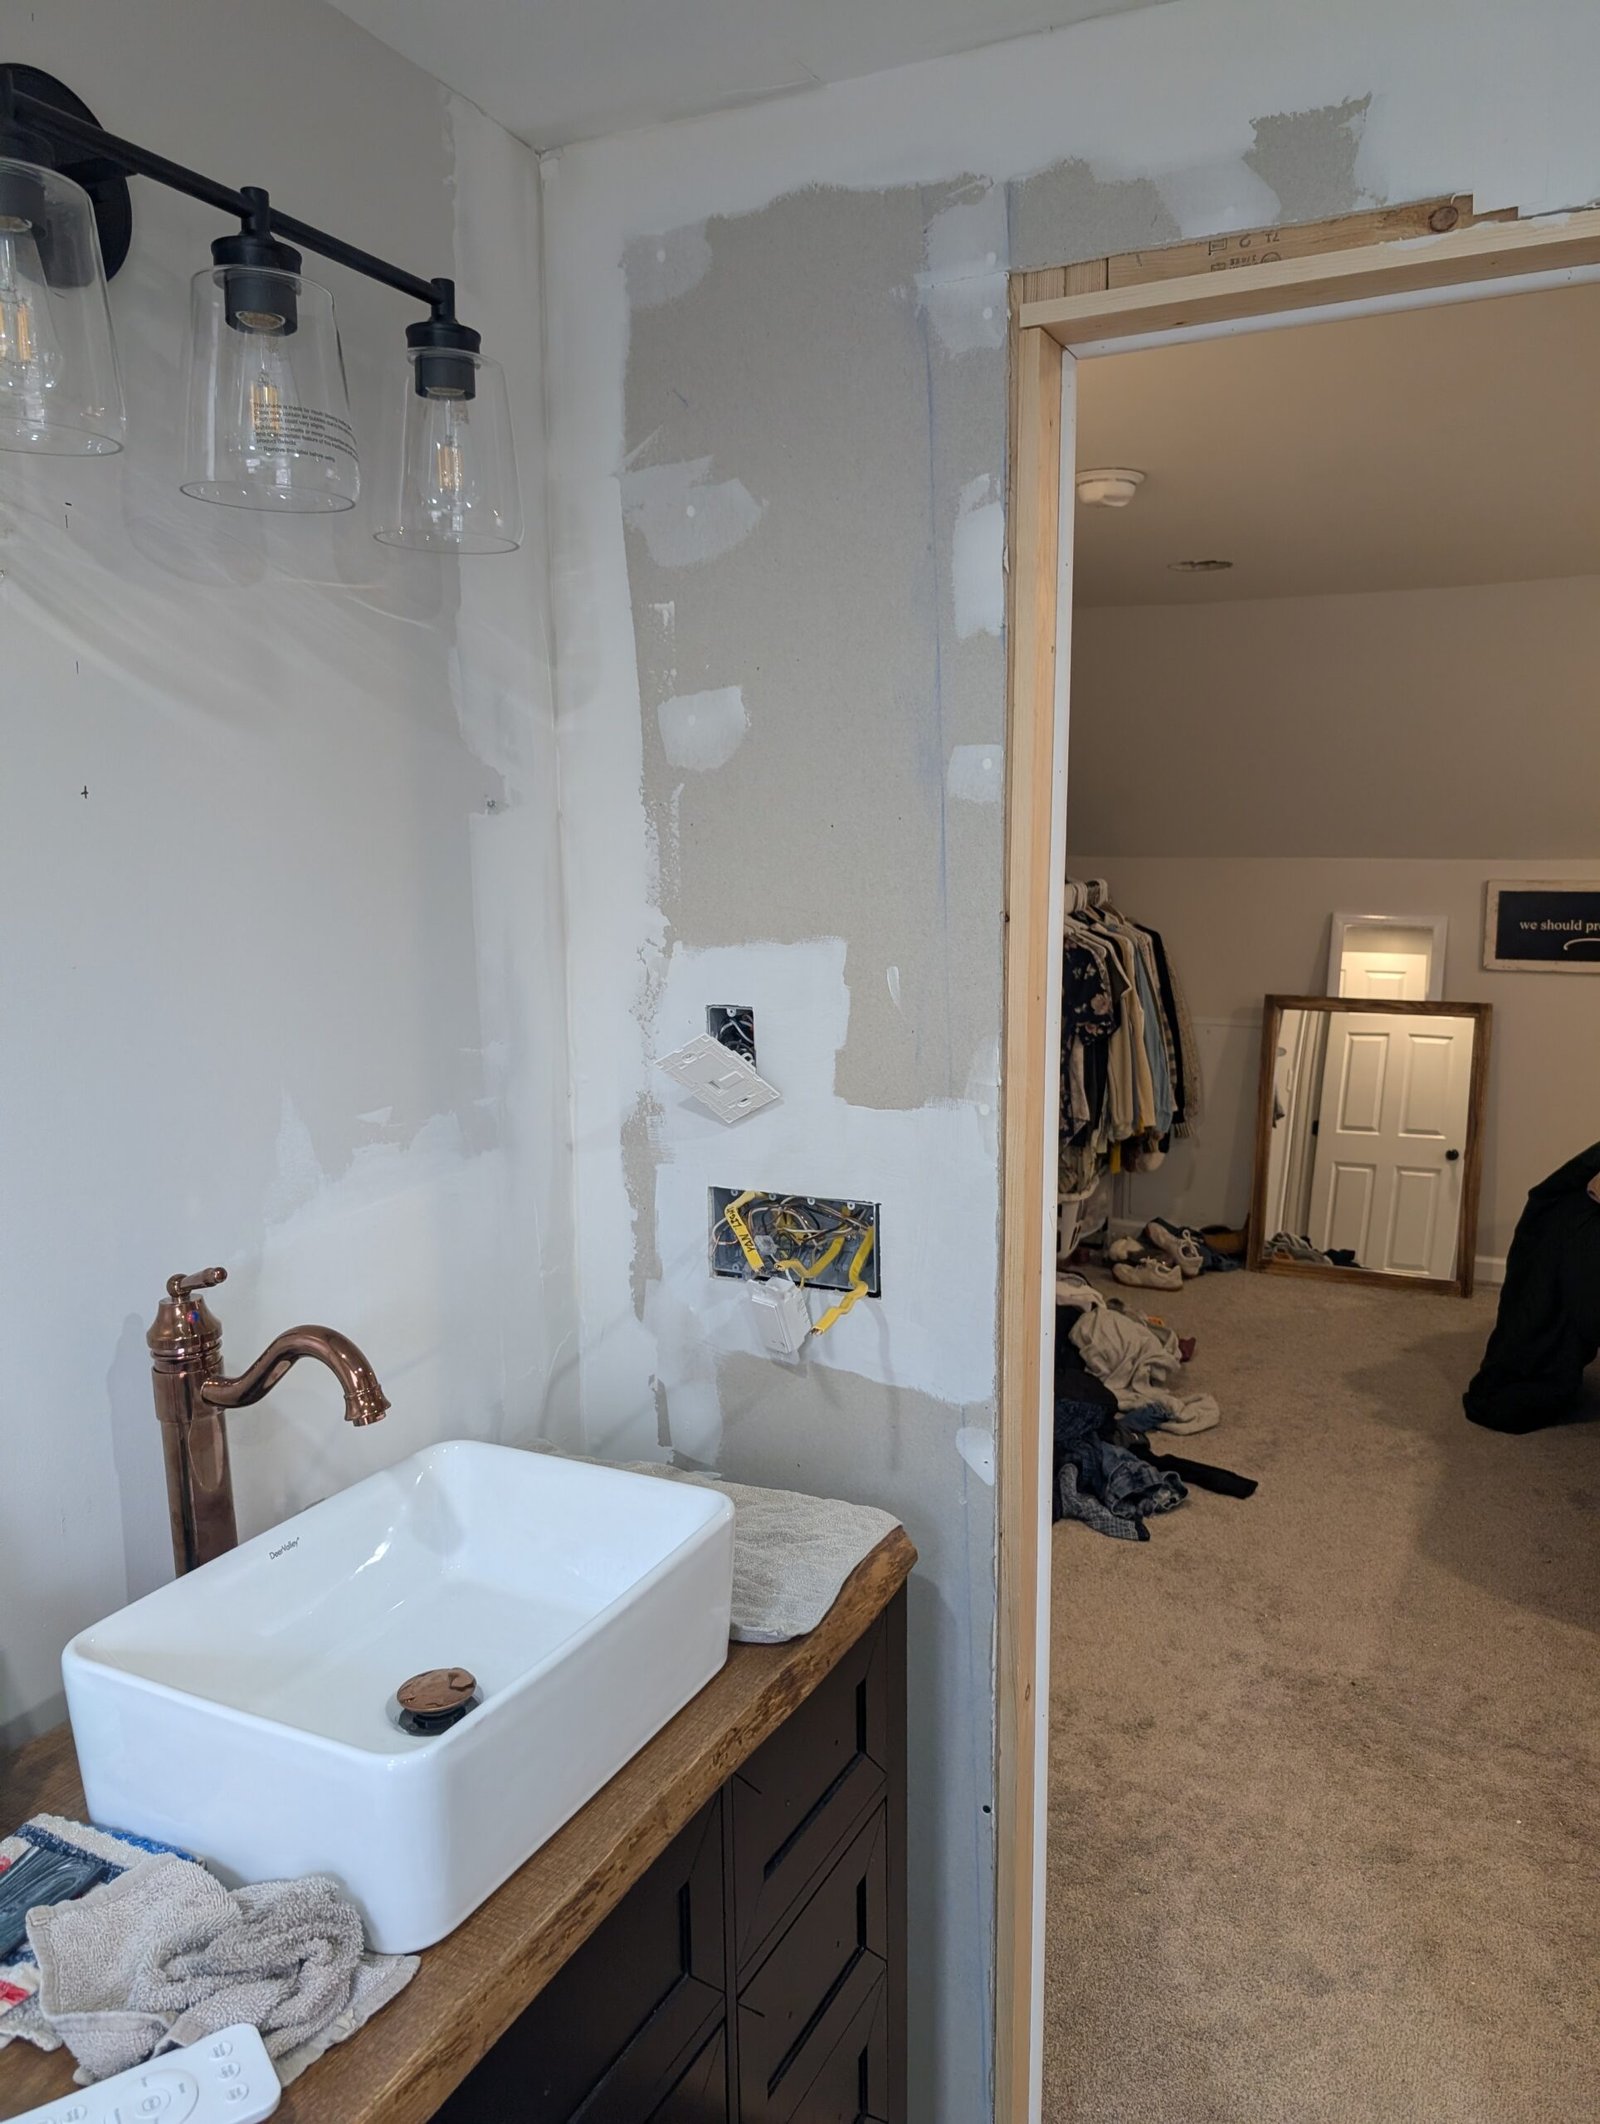
Step 2: Second Mud Coat and Sand
Step 2: Second Coat, Feathering, and Sanding
Let the first coat dry overnight, then added a second layer, feathering the edges for a smooth taper. Sanded lightly with 120-grit to knock down high spots—dust mask on, because it gets everywhere.
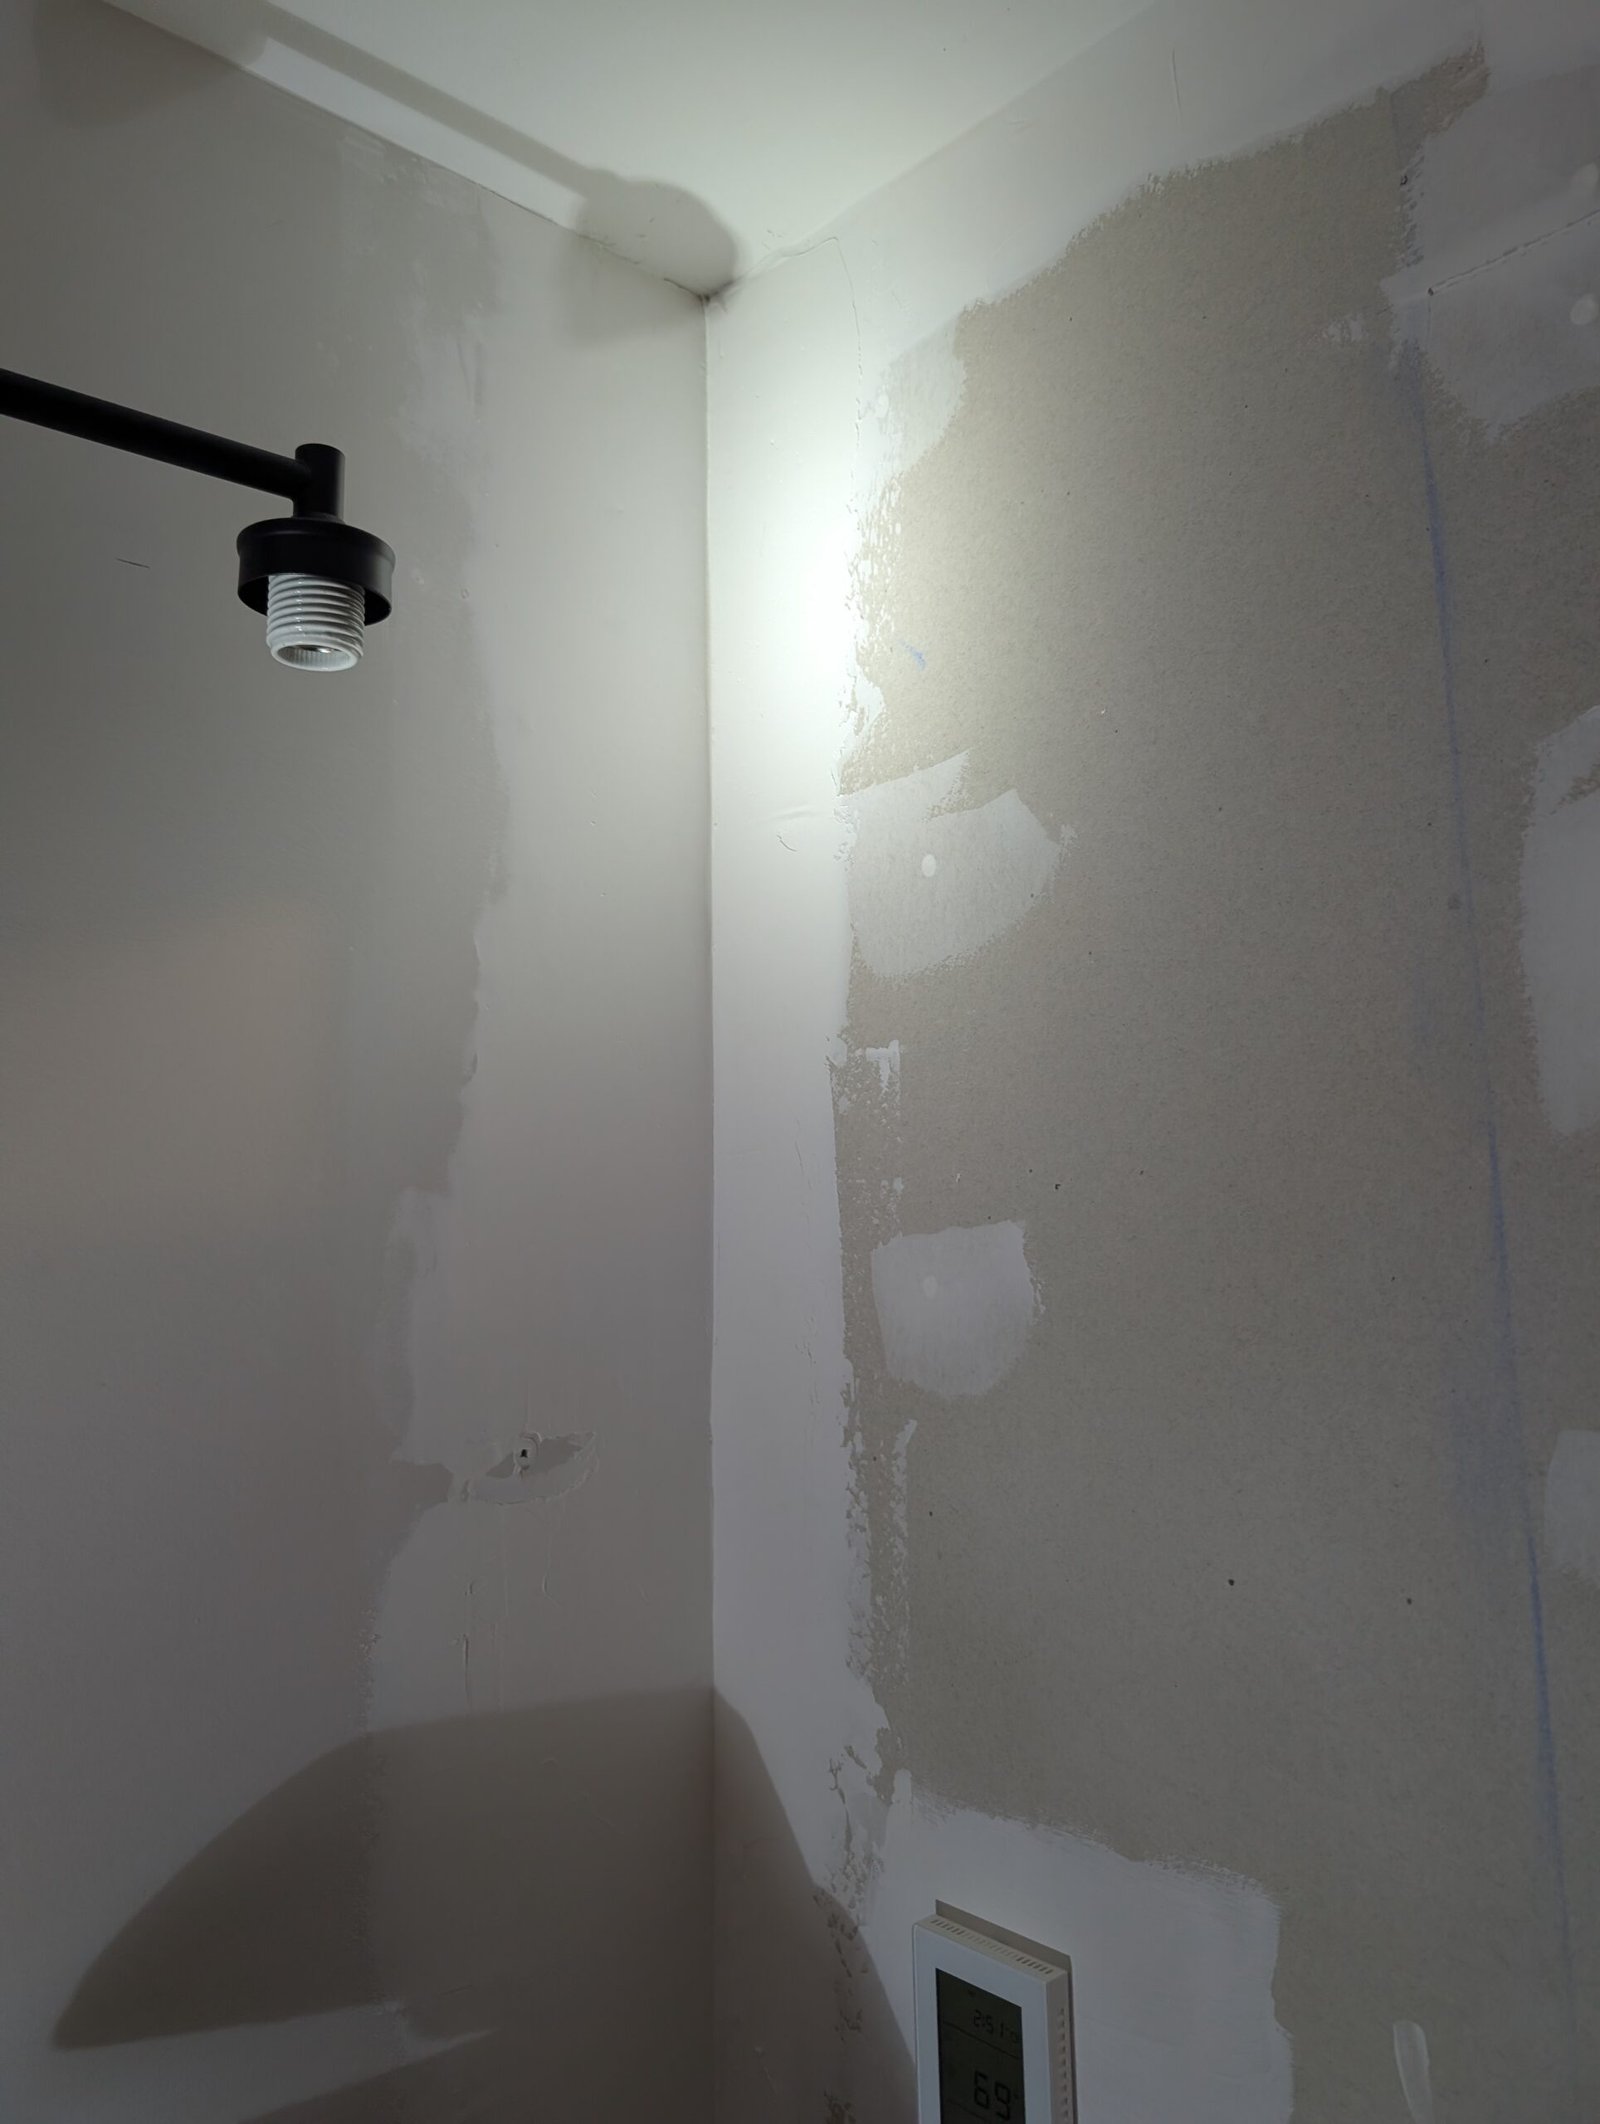
Step 3: Prime It Up
Step 3: Prime the Drywall
Rolled on Kilz primer (tinted gray for better coverage on drywall). It seals the surface and helps the paint stick—two coats if you’re going dark, one for light colors.
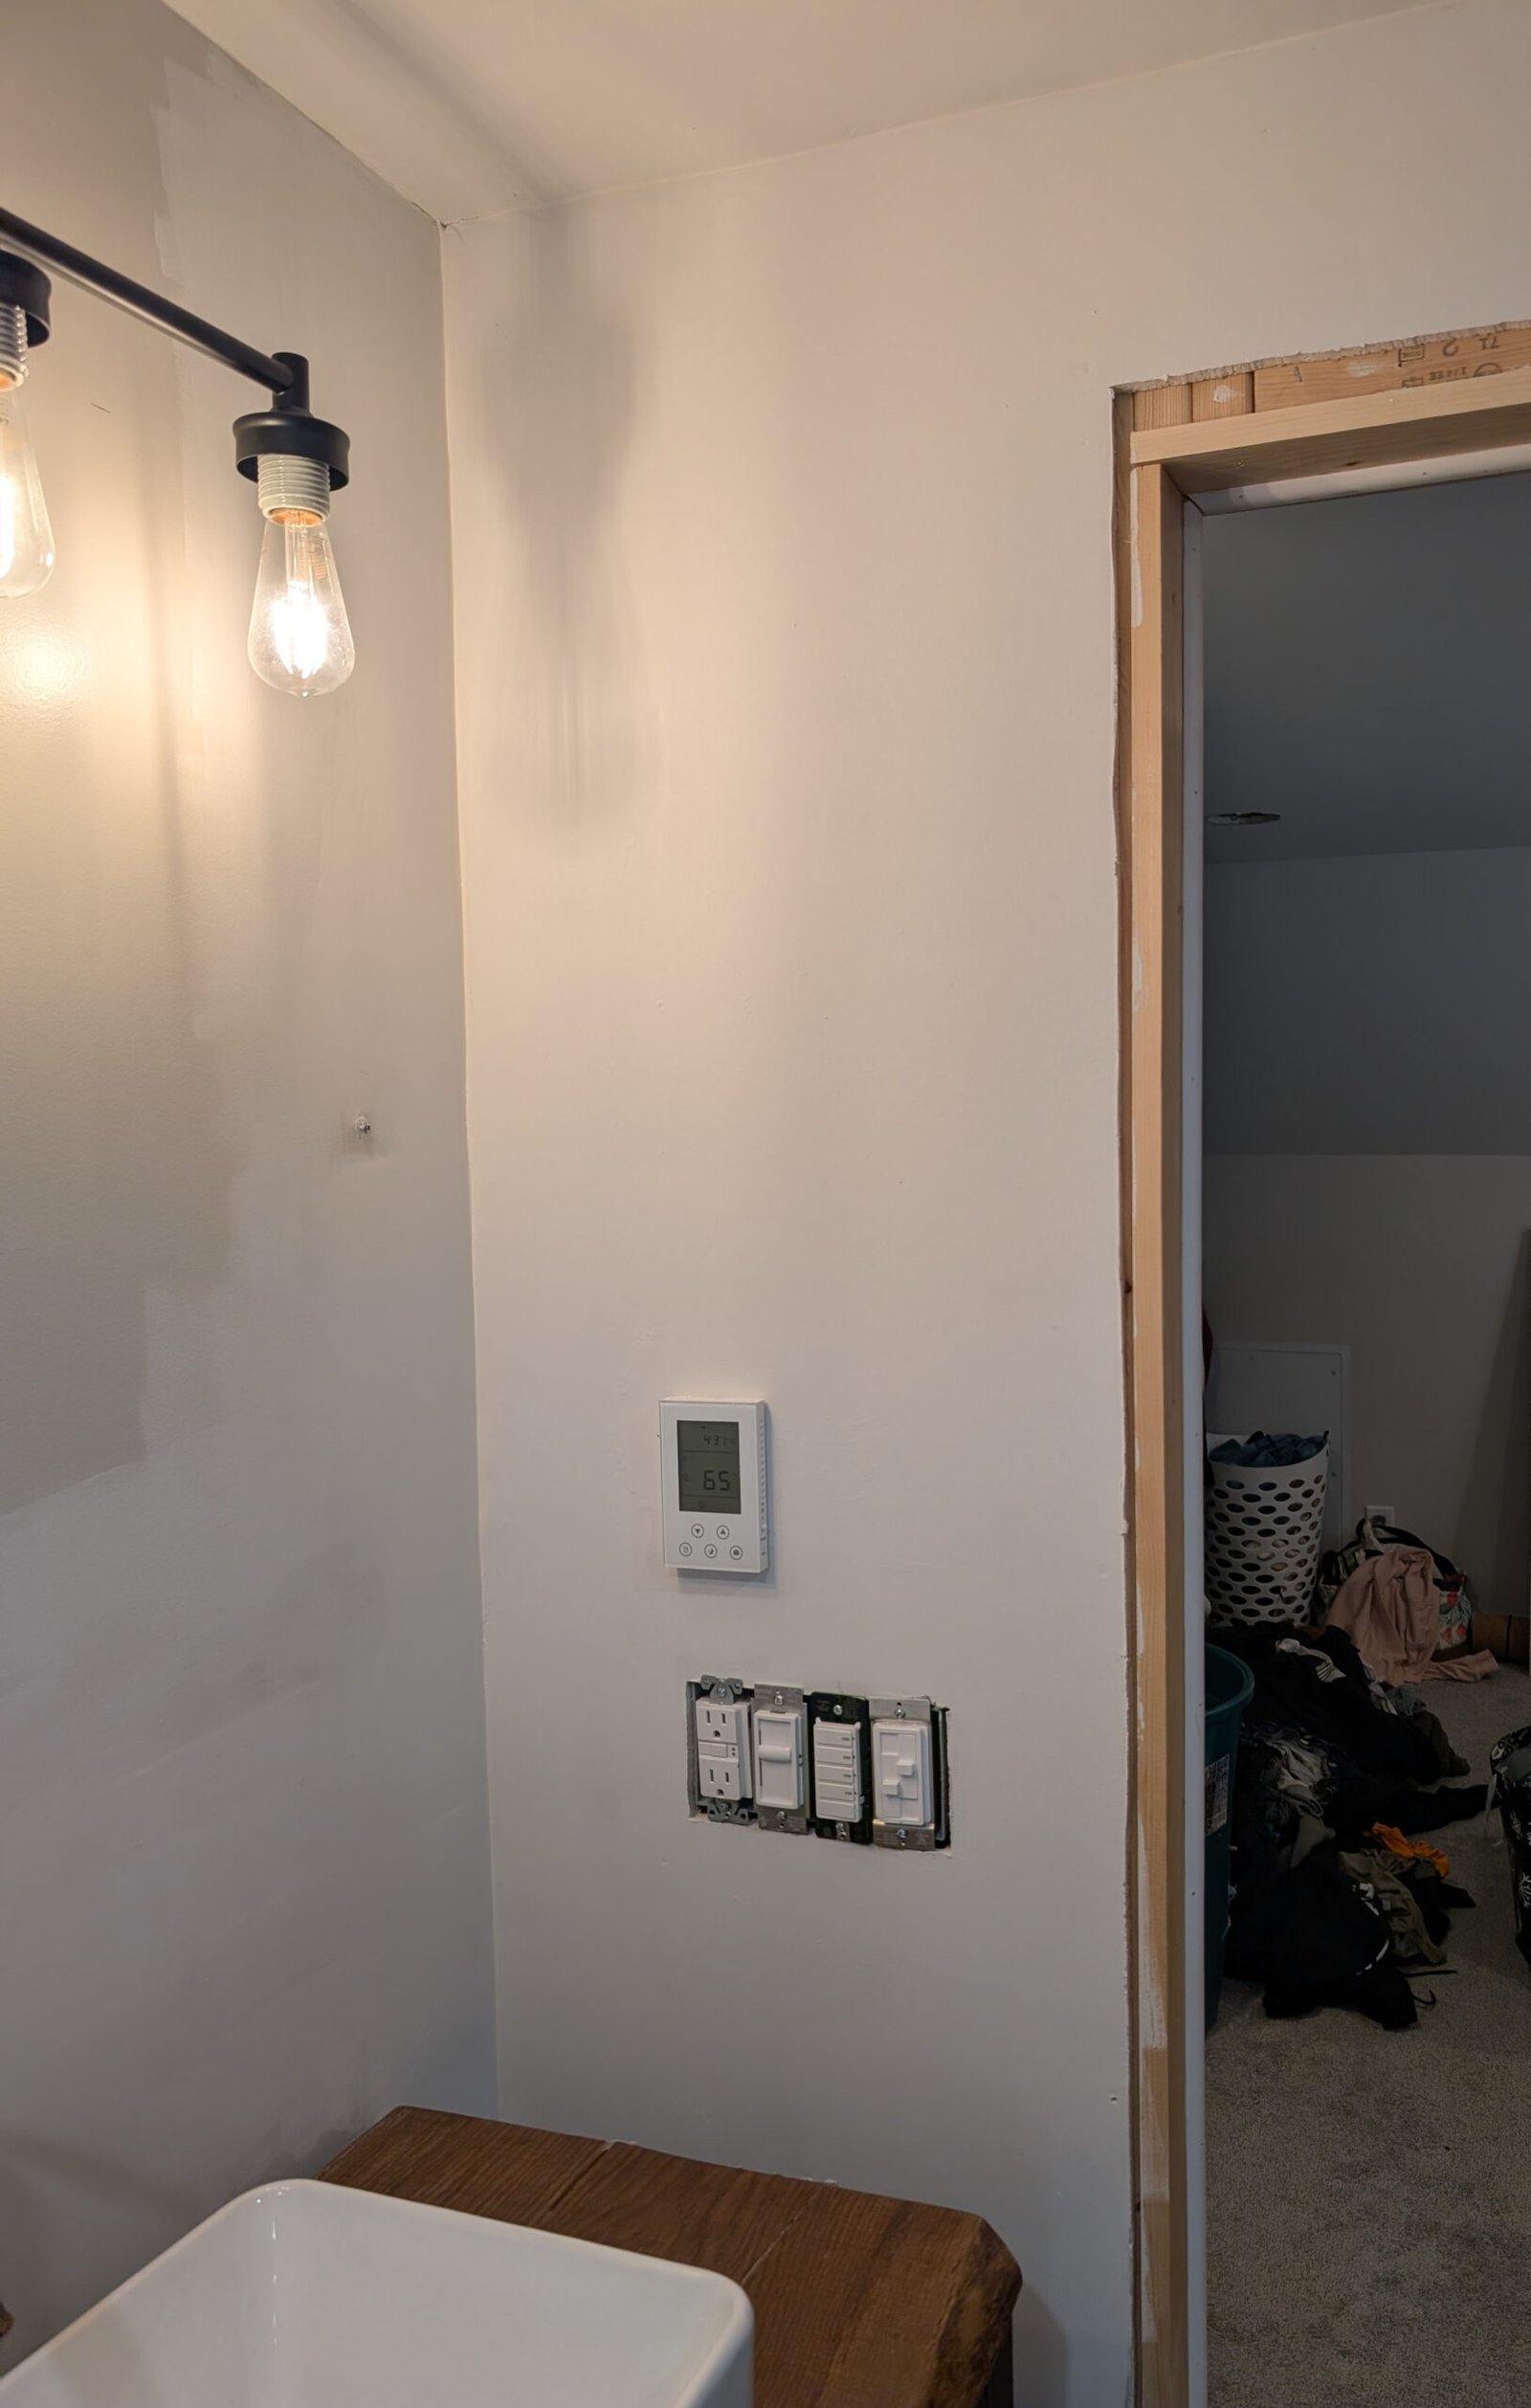
What I Learned (and Why It’s Worth It)
A little patience with the mud coats pays off big—smooth walls mean less primer and paint, and no visible seams later. This section is now ready for color (debating a soft blue or gray—thoughts?).
What’s Next for the Bathroom Conversion
Next: Finishing the mud on the rest of the walls, then paint. Stay tuned!
How to Check Your Work Before You Prime
The best trick I know for finding flaws is a flashlight. Hold it nearly flat against the wall and sweep the beam across the surface. Raking light throws shadows into every ridge, pit, and seam edge that you’d never notice under normal room lighting. Mark problem spots lightly with a pencil, then fix them before any primer goes on.
Your hand is just as good a tool. Close your eyes and slide your palm gently over the seams. If you can feel a ridge or a lip, paint will make it more obvious, not less. A thin skim of compound and another light sanding usually takes care of it.
Dust Is the Enemy of a Good Finish
Sanding dust left on the wall keeps primer from bonding well and leaves a gritty texture under your paint. Before priming, I brush the walls down with a dry brush or broom, then wipe them with a barely damp sponge or cloth. Wring it out well, because too much water can soften the compound. Let the wall dry fully before you roll anything on.
It also helps to vacuum the floor and ledges first. Otherwise the dust gets stirred up again and settles right on your fresh primer. If you can, hang plastic sheeting over doorways and keep the room’s vents closed while you sand.
Tips for Working in a Bathroom
Bathrooms are tougher on walls than most rooms, so it pays to be patient with drying times. Joint compound dries more slowly in a damp or cool space. A coat that looks dry on top can still be wet underneath, and it will usually look noticeably lighter in color once it has cured. If you’re unsure, wait longer. Sanding compound that’s still damp just smears and clogs your sandpaper.
Good airflow helps a lot. Run a fan or open a window while the compound dries, and keep the room as dry as you can. Once the room is in use, a working exhaust fan is one of the best ways to protect your finished paint from moisture over the years.
Finally, read the label on your joint compound and primer for guidance on drying times and recommended conditions. Those can vary from product to product, and the manufacturer’s directions beat any rule of thumb, including mine.
What’s your go-to primer for drywall? Drop it in the comments — I’d love your tips.
*Disclosure: This post contains affiliate links. If you purchase through them, I may earn a small commission at no extra cost to you. Thanks for supporting the blog!*
Happy building,
Steve
CT Home Repair and Tutoring LLC
