

Hey, it’s Steve from CT Home Repair and Tutoring LLC.
One of the best parts of this closet-to-bathroom project is making use of the space underneath. The plumbing from the new toilet runs right through the guest bedroom ceiling, so I decided to box it out and turn the area into a useful closet. Not only does it hide the pipes, but it also adds insulation to quiet down the noise from upstairs drains — no more echoing flushes waking up overnight guests.
I took pictures of the framing process so you can see how to do something similar in your own home — whether it’s hiding pipes, creating storage, or just reclaiming awkward space. If you can measure and screw in some 2x3s, you can handle this.
What You’ll Need (Basic Framing Stuff)
Tools You Need for Framing a Closet
A tape measure, pencil, speed square, circular saw, drill, level, and 2x3s with screws. That’s it for this stage — no fancy jigs or pro tools required.
Step-by-Step: Framing the Closet
Step 1: Mark the Layout
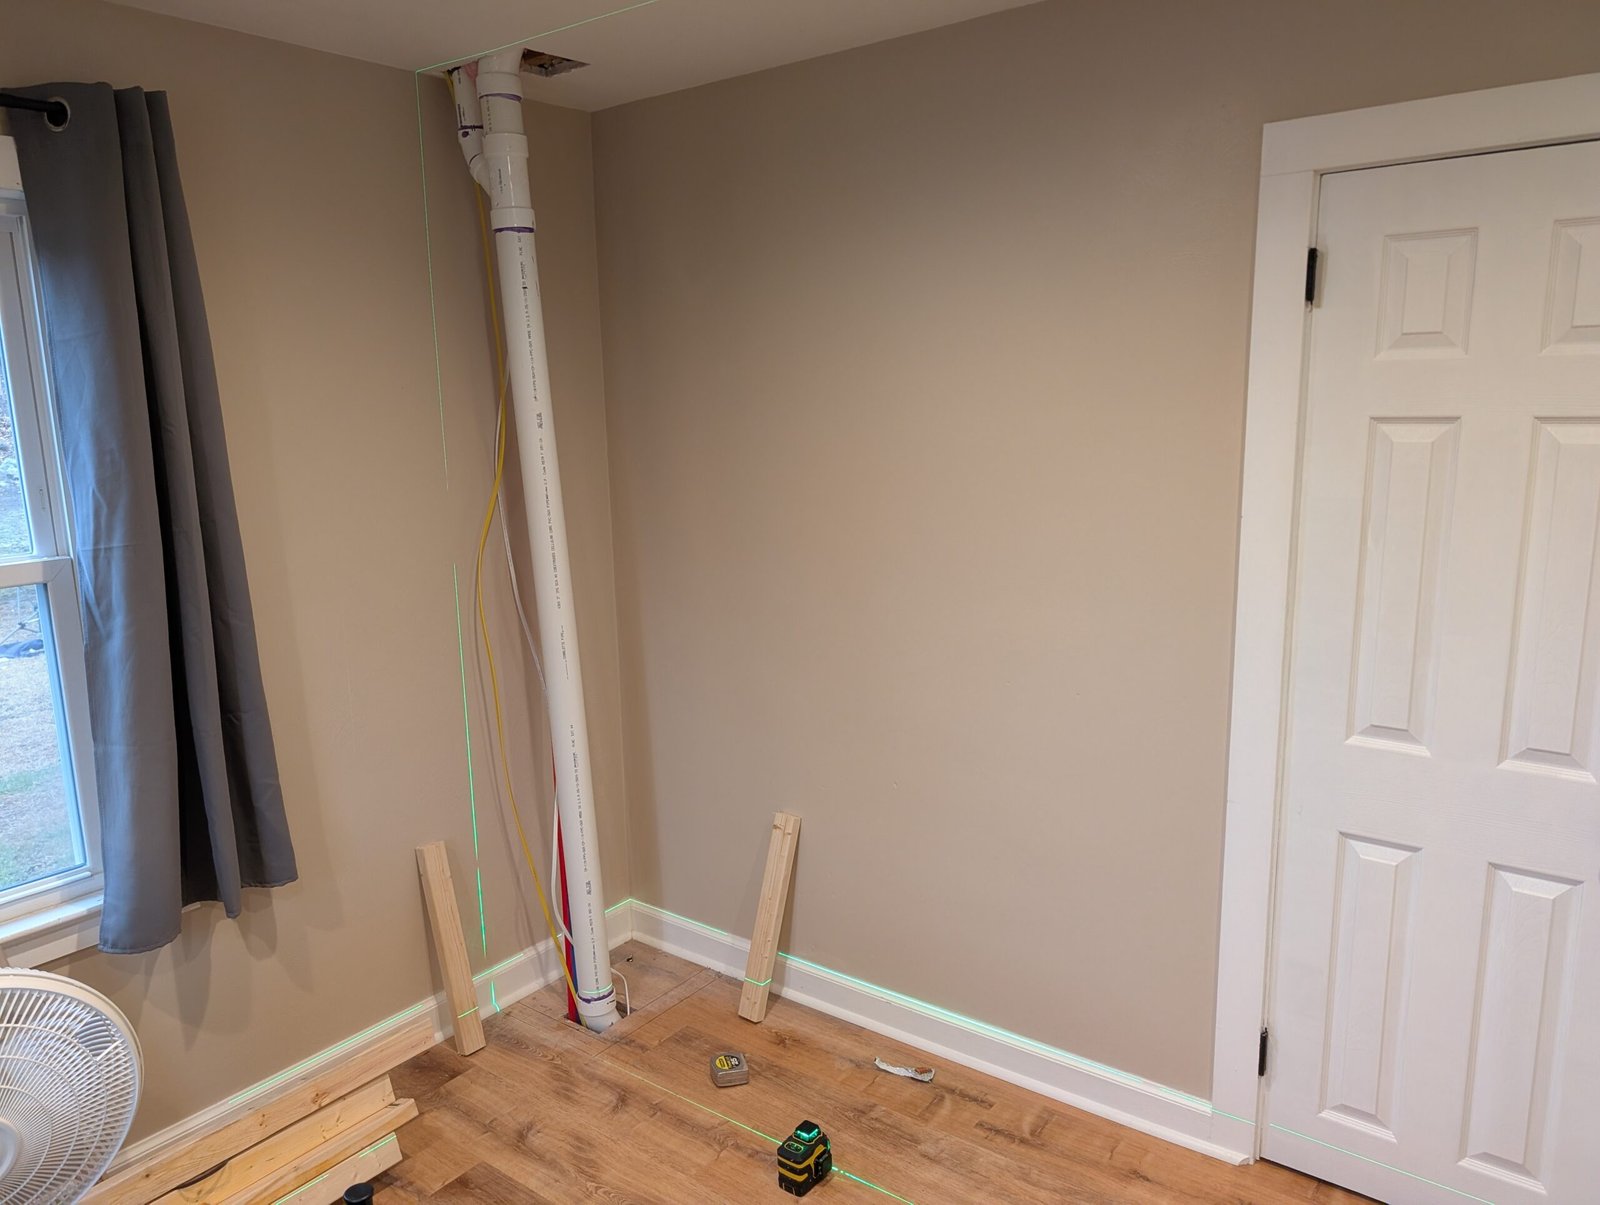
Marking the Plumbing Path and Closet Footprint
Start by running a laser level across the ceiling to mark the exact path of the plumbing. I used a chalk line on the walls and floor to outline the closet footprint, making sure it enclosed the pipes without wasting space.
Step 2: Box Out the Pipes
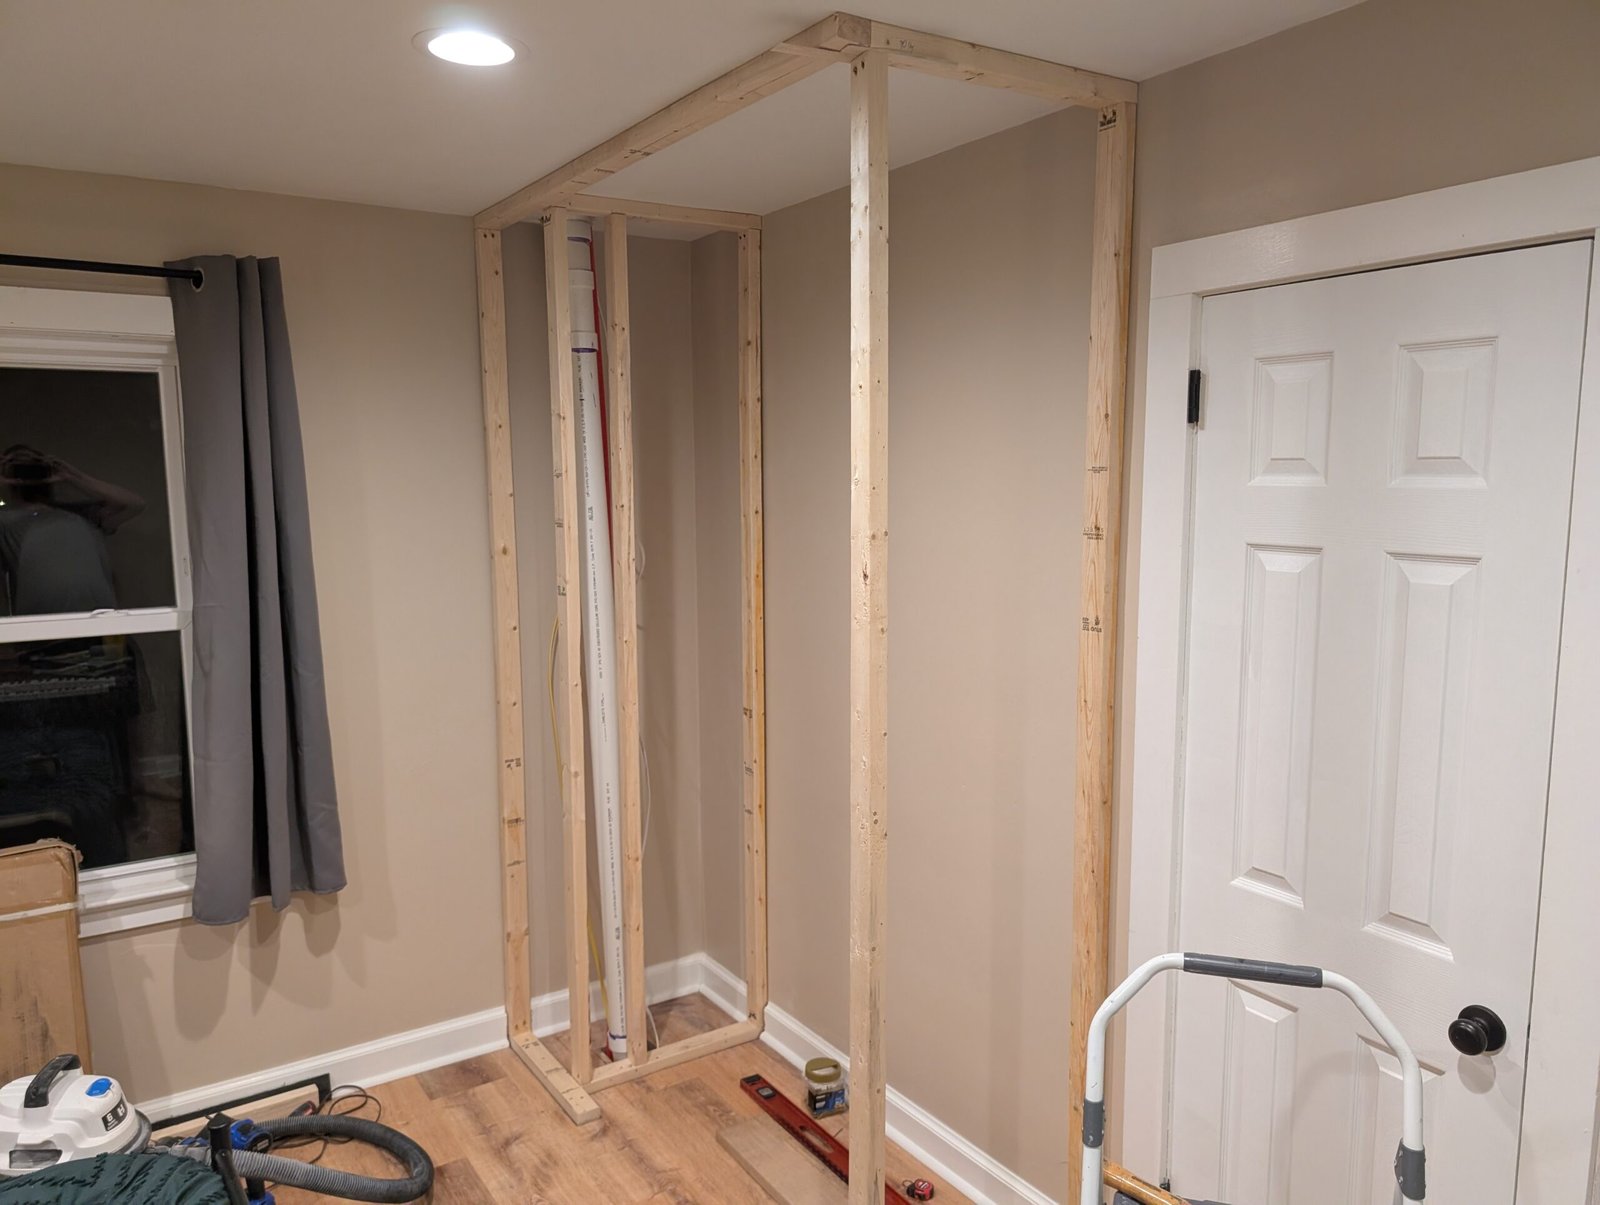
Framing Around the Plumbing Stack
Build the first section around the plumbing stack — cut 2x3s to fit snugly against the wall and ceiling, then screw them in place. I added blocking to support the pipes and keep everything stable.
Step 3: Complete the Framing
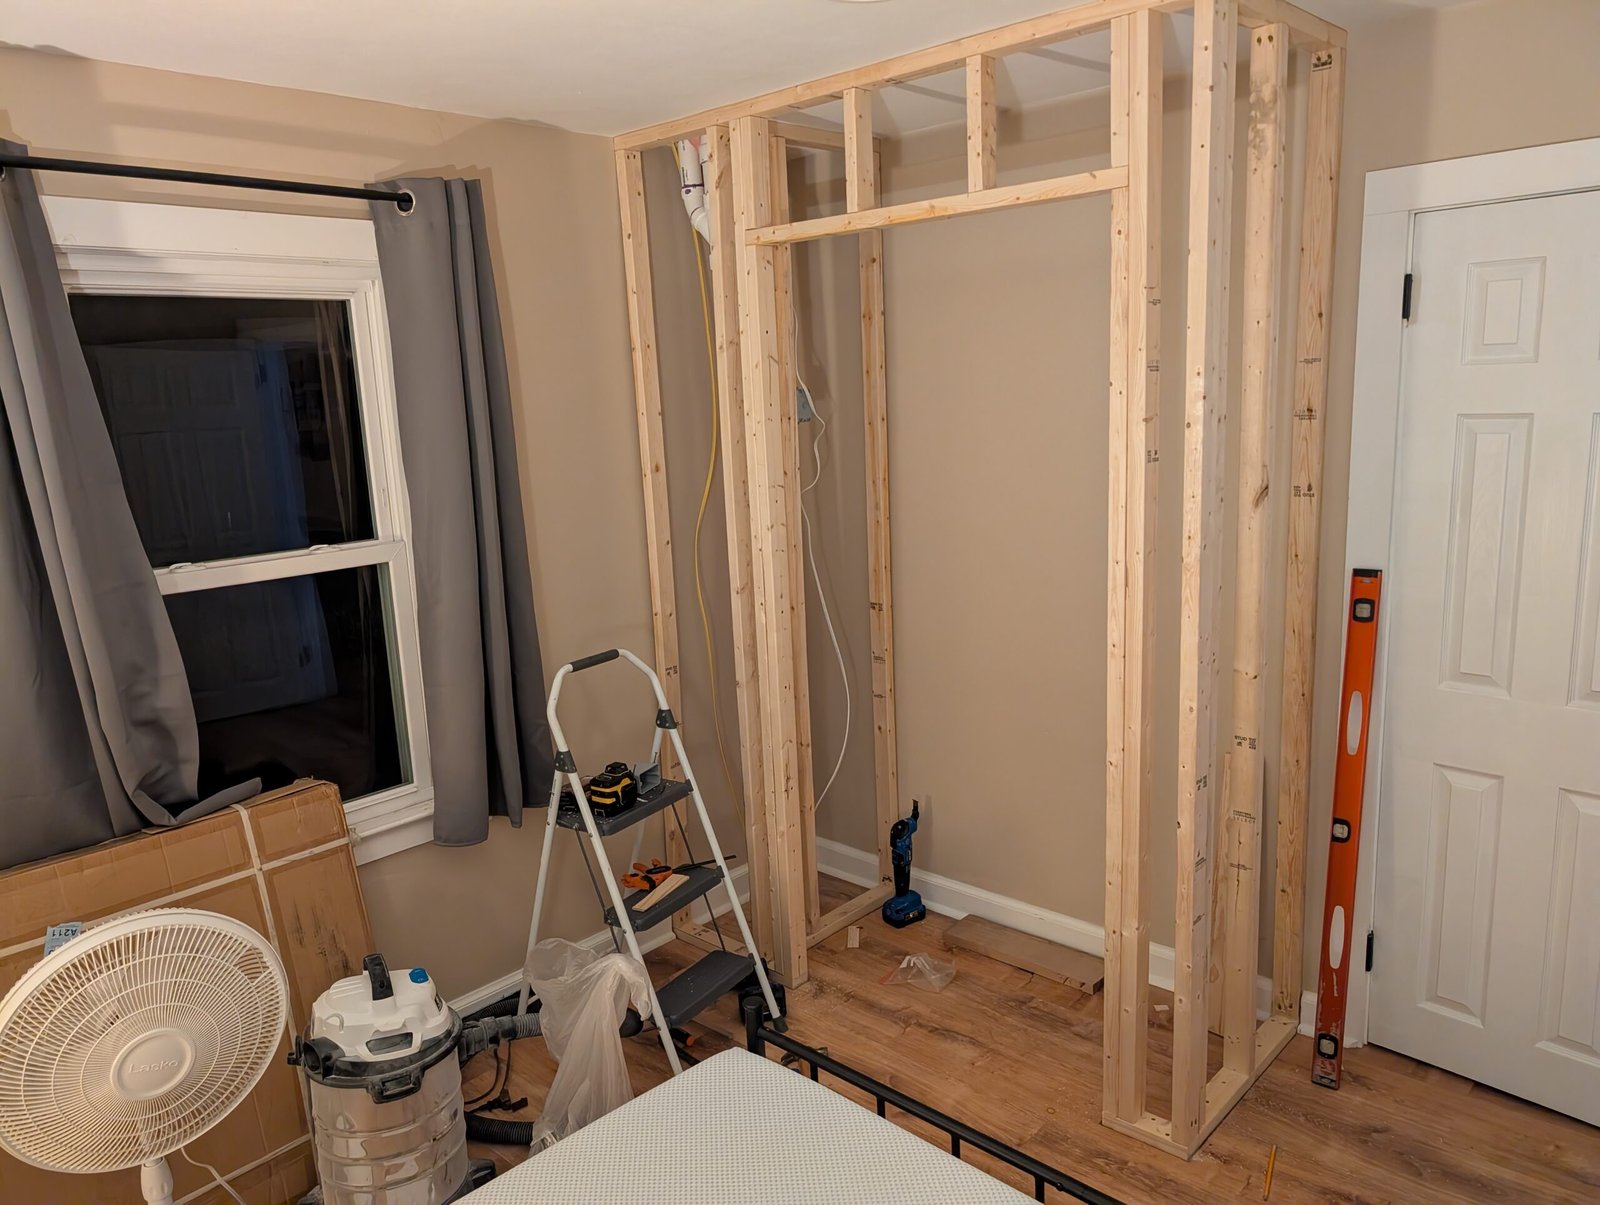
Frame the other side and top, ensuring everything is plumb and square. I used a level on every stud and will add additional blocking for hanging the closet rod.
What I Learned (and Why It’s Worth It)
Storage and Noise Reduction Benefits
Plan for Access Before You Close Anything In
Before you commit to a framing layout, think about the day something goes wrong. Pipes can develop leaks, and valves, cleanouts, and joints sometimes need attention years down the road. If you wall them in completely, a small repair turns into a demolition job. I like to note where any fittings, shutoffs, or connection points sit and plan a removable panel or a small access door right there.
It’s also smart to call your local building department and ask whether your plan needs a permit or inspection, especially if you’re working around plumbing or adding wiring later. Rules vary from town to town, and a quick phone call is much cheaper than redoing finished work.
Give Pipes a Little Breathing Room
When you frame around plumbing, resist the urge to press lumber tight against the pipes. Pipes expand, contract, and vibrate when water moves through them. If wood is touching them directly, that vibration can transfer into the framing and create the very noise you’re trying to avoid. Leave a small gap where you can, and use pipe supports or padding at any point where the pipe has to rest against something.
Take your measurements at several heights, too. Older houses are rarely perfectly square, and a wall that looks plumb at the top may drift a bit at the bottom. Checking in a few places helps you catch that early, before the framing is fastened and the drywall is waiting.
Design the Inside So It Actually Gets Used
A closet is only useful if you can reach what’s in it. Think about how you’ll use the space before the last stud goes in. For hanging clothes, a depth of around 24 inches is the usual standard so hangers clear the back wall. If your boxed-out area is shallower, a shelving setup or a few bins for linens and spare blankets might serve you better than a rod.
Consider which way the door will swing, and whether a sliding or bifold door makes more sense in a tight bedroom. Decide where shelves or a rod will go now, and add extra blocking in those spots while the framing is still open. It’s a few extra minutes of cutting, and it means you can hang things securely later without hunting for a stud behind finished walls.
Finally, step back and look at the whole thing before you move on. Walk around the frame, imagine the door open, and picture a stack of towels on the shelf. If anything feels cramped, it’s far easier to adjust now than after the walls are covered.
Boxing out plumbing doesn’t have to be an eyesore — it can actually add useful storage while reducing noise from upstairs. This closet will hold linens and guest essentials, making the room more functional without eating up floor space.
What Comes Next
Next up: Running electrical for a light and outlet, insulating around the pipes, and sheetrocking the whole thing. Stay tuned!
Got a space-saving idea in your house? Drop it in the comments — I’ll see if it’s tutorial material.
*Disclosure: This post contains affiliate links. If you purchase through them, I may earn a small commission at no extra cost to you. Thanks for supporting the blog!*
Happy building,
[Your Name]
CT Home Repair and Tutoring LLC
