There’s a particular kind of frustration that comes from opening the cabinet under your kitchen sink and finding the floor of it soft, discolored, and smelling faintly of mildew. That’s exactly what happened to me last spring. I’d been noticing a slow drip after doing dishes — not every time, just enough to make me think it was condensation or a splash. Then one Saturday morning I opened that cabinet to grab the dish soap backup and pressed my hand against the particleboard floor. It gave a little. Not good.
The culprit? A kitchen sink strainer that had been leaking so slowly and quietly for so long that the putty underneath had completely failed. The basket itself looked fine from above — no visible rust, no obvious cracks — but down below, the gasket was dried out, the locknut was hand-tight at best, and water had been wicking down the underside of the sink with every load of dishes for who knows how long.
I pulled out my 12-year-old and told him we were going to fix it together. Two hours, maybe $20 in parts, and a good lesson in how small problems become expensive ones when you ignore them. That’s the kind of Saturday that actually matters.
If you’ve got a dripping P-trap connection, a cabinet floor that’s starting to soften, or just a rusted-out strainer basket that won’t hold water properly, this guide is for you. This is one of the most accessible plumbing repairs a homeowner can do — no soldering, no special licenses, and no reason to pay a plumber $150 to do something you can handle yourself in an afternoon.
What a Kitchen Sink Strainer Actually Does
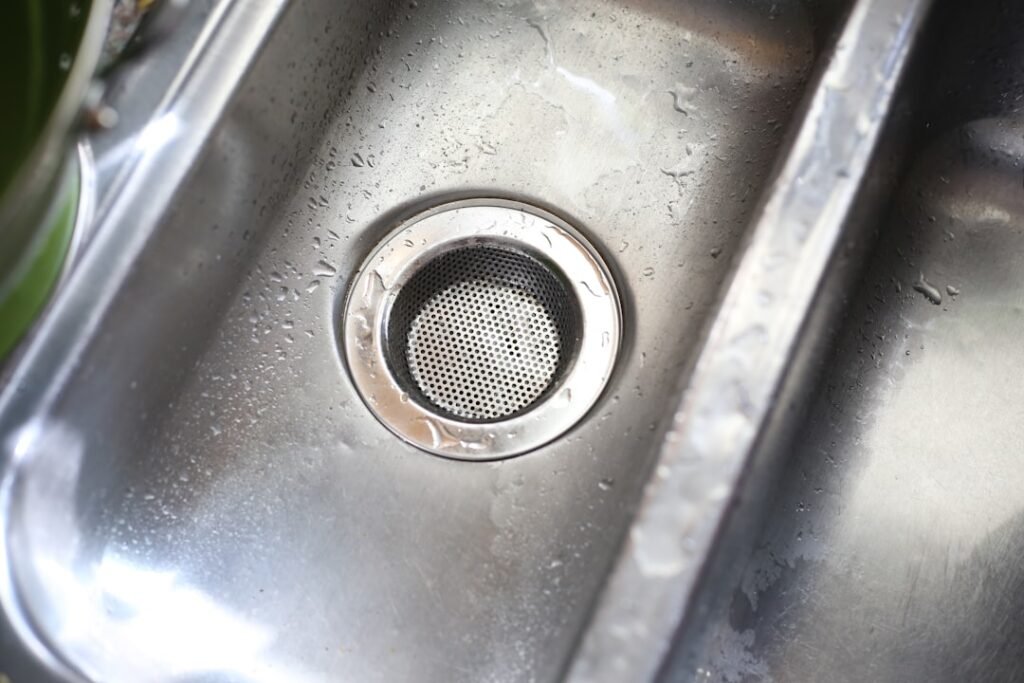
The sink strainer is that metal basket assembly sitting in the drain opening of your sink. It does two things: it catches food debris before it enters your drain, and — more importantly — it forms a watertight seal between your sink basin and the drain pipe below. The seal on top is created with plumber’s putty pressed between the strainer flange and the sink surface. The seal below is held in place by a rubber gasket, a friction ring, and a large locknut that threads onto the strainer body from underneath.
When any part of that system fails — dried-out putty, a cracked gasket, a loose locknut — water finds a way through. And because it drips underneath the cabinet, it often goes unnoticed for months. By the time you catch it, you’re dealing with damaged cabinet floors, potential mold, and sometimes even subfloor issues if the cabinet isn’t sealed well.
The good news is that replacing the entire assembly takes less than two hours and costs between $15 and $35 depending on the strainer you choose. If you’ve already dealt with other under-sink plumbing on this blog — like replacing a kitchen faucet shut-off valve or fixing a leaky sink sprayer — you already know the territory. Same cramped cabinet, same basic approach.
Tools and Materials You’ll Need
- Replacement sink strainer assembly (Danco, Kohler, and Keeney all make solid options)
- Plumber’s putty (not silicone — I’ll explain why below)
- Slip-joint pliers or channel-lock pliers
- Sink strainer wrench (also called a basket wrench — optional but very helpful)
- Large adjustable pliers or a pipe wrench
- Putty knife or flat screwdriver
- Bucket
- Rags or old towels
- Flashlight or headlamp
- Safety glasses
A quick note on silicone vs. plumber’s putty: some newer composite or stone sinks require silicone instead of putty because putty can stain certain materials. If you have a standard stainless steel sink — which is most common in Connecticut homes — plumber’s putty is the right call. It stays workable, forms a great seal, and is easy to clean up. Check your sink manufacturer’s guidance if you’re unsure. The NSF’s consumer plumbing resources are a good reference for understanding material compatibility in kitchen plumbing.
Step 1 — Clear the Cabinet and Shut Off the Water
You don’t technically need to shut off the water supply to replace a sink strainer — you’re not touching supply lines — but you do need to disconnect the P-trap, and that’s going to drain residual water into your bucket. Clear everything out from under the sink first. I always have my boys do this part. It’s a good job for the 10-year-old: pull everything out, wipe down the cabinet interior, and let me know if the floor feels soft or shows any discoloration.
Place your bucket under the P-trap before you disconnect anything. Even if the drain looks dry, there’s always water sitting in that trap. Disconnect the P-trap slip joints — usually these are hand-tight plastic nuts, though older homes may have metal — and let the water drain into the bucket. Set the P-trap aside.
Step 2 — Remove the Old Strainer
This is the step that separates a 30-minute job from a two-hour one, depending on how old your strainer is. From underneath the sink, you’ll see the strainer body coming down through the sink basin. Threaded onto it is a large locknut, usually black plastic or metal. There’s also a rubber gasket and a cardboard or plastic friction ring between the locknut and the underside of the sink.
To remove the locknut, you need to hold the strainer basket from spinning while you turn the nut. This is where a sink strainer wrench earns its keep — it drops into the basket from above and holds it in place while you work from below. If you don’t have one, you can jam the handles of a pair of pliers into the basket crossbars and have a helper hold it steady while you loosen the nut from below.
On older homes — and Connecticut has plenty of them — the locknut may be corroded or practically fused in place. Apply a penetrating lubricant like WD-40 or PB Blaster, wait 10 minutes, and try again with more leverage. If it still won’t budge, a hacksaw blade (used carefully) can cut through the nut without damaging the drain opening. This is rare, but it happens.
Once the locknut is off, the strainer assembly should push up and out through the top of the sink. Use a putty knife to scrape away the old plumber’s putty from around the drain opening. Clean the area thoroughly — you want bare, clean metal before the new strainer goes in.
Step 3 — Prepare and Install the New Strainer
Roll a rope of fresh plumber’s putty about the thickness of a pencil and long enough to wrap around the underside of the new strainer flange. Press it evenly all the way around — no gaps, no thin spots. This is the top seal, and it matters.
Lower the new strainer body down through the drain opening from above, pressing it firmly into place. Some putty will squeeze out around the edges — that’s exactly what you want. Don’t wipe it away yet.
From underneath, slide the rubber gasket onto the strainer body, then the friction ring, then thread the locknut on by hand. Once it’s snug, use your strainer wrench or pliers to tighten it down while holding the basket steady from above. As you tighten, you’ll see more putty squeeze out around the flange on top. Keep going until the strainer is firmly seated and doesn’t rotate when you try to turn it. You want solid and snug — not gorilla-tight, but definitely not hand-tight.
Go back up top and wipe away the excess putty with a rag or your finger. It should come off cleanly and leave a neat, sealed edge around the strainer flange.
Step 4 — Reconnect the P-Trap and Test
Reconnect your P-trap to the tailpiece of the new strainer assembly. Make sure the slip-joint washers are seated properly and tighten the nuts — hand-tight plus a quarter turn is usually right for plastic. Over-tightening plastic slip joints can crack them, so don’t muscle it.
Run the water for a solid two minutes. Run a full sink of water and let it drain. Then get under the cabinet with your flashlight and look carefully at every connection point — the strainer flange from above, the underside of the sink around the new seal, and both P-trap connections. No drips, no seeping, no moisture on the cabinet floor. If everything looks dry after two minutes of active drainage, you’re done.
My 12-year-old was the one with the flashlight under the cabinet while I ran the water. He called out “dry!” and honestly, that moment of checking your own work and finding it solid — that’s the part of the lesson I want him to carry with him. Do the job right, verify it yourself, and trust what you’ve built.
While You’re Under There — Check These Things Too
Since you already have the cabinet cleared out and you’re down on the floor with a flashlight, take five extra minutes to look around. These are the things I check every time I’m under a sink:
- P-trap and drain pipe connections — Any white mineral deposits or staining around a joint means a slow drip. Address it now.
- Supply line condition — Braided stainless lines have a lifespan of 5–10 years. If yours look old or have any corrosion at the fittings, replace them proactively. A burst supply line can flood a kitchen in minutes.
- Cabinet floor integrity — Press on it. If it gives or feels spongy, there’s been moisture in there. Dry it thoroughly, treat with a mold-inhibiting primer, and consider replacing the panel before it gets worse.
- Shut-off valves — Turn them off and back on to make sure they still operate freely. A shut-off valve that’s been open for 20 years without being touched will sometimes fail when you need it most. If yours are stiff or corroded, this is a good time to address them — I covered the full process in my guide on replacing a kitchen faucet shut-off valve.
When to Call a Plumber Instead
This repair is genuinely beginner-friendly, but there are a few situations where I’d say pick up the phone instead of the wrench. If you find that the drain opening in your sink is cracked or corroded beyond the strainer seat, that’s a sink replacement situation — not a strainer swap. If your drain pipe going into the wall shows active rust, deterioration, or improper slope, a licensed plumber should assess it. And if you open up that cabinet and find active mold on the wall or subfloor, stop, dry it out, and consider whether you need a professional remediation assessment before doing anything else.
Connecticut’s older housing stock — a lot of it built in the mid-twentieth century — can have galvanized or early PVC drain systems that are fragile in ways you don’t always see coming. I’ve learned to be cautious and methodical. There’s no shame in recognizing when a job is beyond a DIY fix. Protecting your family is always the priority, and sometimes that means knowing your limits. I wrote more about that balance in my guide on stopping basement water intrusion — the principle is the same: address what you can, recognize what you can’t, and don’t let pride turn a small problem into a big one.
The Connecticut Department of Consumer Protection maintains a licensed plumber lookup if you ever need to verify credentials before hiring someone for work that’s beyond the DIY scope.
The Real Value of a Saturday Like This
When we finished that afternoon, my 12-year-old and I ran a full sink of water together and watched it drain cleanly. The cabinet was dry. The new strainer basket gleamed. The job cost us $22 in parts and maybe $4 in putty. A plumber would have charged us $150 minimum, probably more.
But what I keep thinking about isn’t the money — it’s the look on his face when he confirmed the drain was dry and tight. There’s something important that happens when a kid learns that a house isn’t some mysterious system maintained by professionals you call and pay and hope for the best. It’s pipes and wood and metal and rubber, and it responds to patience and the right tools and a willingness to get under there and look.
That’s what I want my boys to have when they’re grown and standing in their own homes looking at their own cabinets. Not just the skill — though that matters — but the confidence. The faith that if something breaks, they can figure it out, take it apart, fix it, and put it back together better than before. That’s a gift that costs nothing except a Saturday morning and a willingness to show up.
Now go check under your sink. You might be more surprised than you expect.
