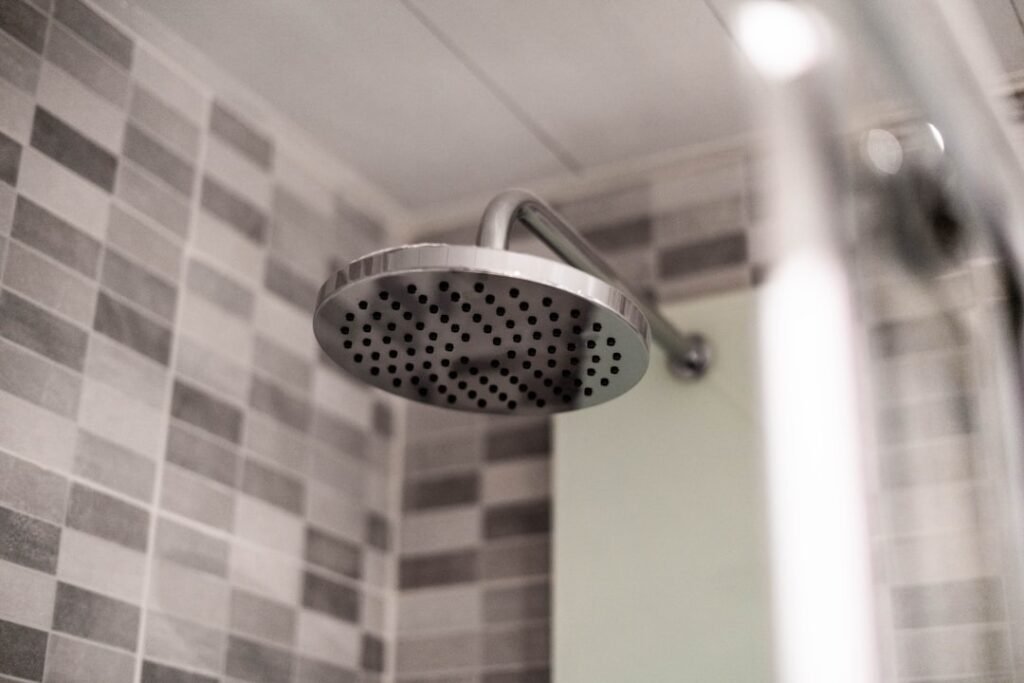
There are few things more demoralizing than stepping into the shower on a cold Connecticut morning and getting a sad, uneven dribble of water when you were expecting a solid, satisfying stream. We’ve all been there. The showerhead that worked perfectly five years ago is now clogged with mineral deposits, leaking at the connection, or just plain worn out — and every time you use it, it’s a small reminder that you’ve been putting off a fix that takes less than thirty minutes.
I finally tackled ours last spring when my 12-year-old pointed out that the showerhead was “spitting sideways.” He wasn’t wrong. Half the spray holes were completely blocked from years of hard water buildup, and there was a slow drip at the wall connection that I’d been mentally filing under “get to it eventually.” That morning, we got to it. Total time from start to finish: about twenty-five minutes. Total cost: under twenty-five dollars. That’s the kind of home repair I love — fast, cheap, and something you can do with a kid watching over your shoulder learning what a plumber would charge you $150 to do in the same amount of time.
If you’re in Connecticut, you already know our water isn’t gentle. Depending on where you live, you may be dealing with hard water that leaves calcium and lime deposits on everything it touches. That buildup is usually the main culprit behind weak water pressure and uneven spray patterns. Sometimes the fix is cleaning. But if your showerhead is old, cracked, or leaking at the base even after cleaning — it’s time to replace it. Here’s exactly how to do it.
Why Showerhead Replacement Is Worth Your Saturday Morning
Before we get into the steps, let’s talk about why this matters beyond just water pressure. A showerhead that drips — even slowly — wastes a surprising amount of water. According to the EPA’s WaterSense program, standard showerheads use up to 2.5 gallons of water per minute. A leaking connection or worn-out showerhead that runs inefficiently can cost you money every single month on your water and heating bills without you ever noticing.
Upgrading to a WaterSense-labeled showerhead can reduce water use by 20 percent or more without sacrificing pressure. That’s real savings across a year — especially in a household of six like ours where the showers never seem to stop. This is also one of those repairs that requires almost no tools, no plumbing experience, and virtually zero risk of making things worse. If you’ve ever opened a jar lid, you can do this job.
What You’ll Need Before You Start
Gather everything before you begin so you’re not running to the garage mid-job. Here’s what you need:
- New showerhead — Pick one that matches your current arm connection. Most residential showerheads use a standard 1/2-inch NPT (National Pipe Thread) connection, so almost anything at your local hardware store will fit.
- Adjustable pliers or channel-lock pliers
- Teflon tape (plumber’s tape) — This is the thin white tape that seals pipe threads. A roll costs about a dollar and you’ll use it on almost every plumbing job you ever tackle.
- Old rag or cloth — To protect the finish when using pliers
- White vinegar — Optional, but useful if you want to clean the shower arm threads before installing
- Toothbrush — For cleaning threads and removing old tape residue
That’s genuinely the whole list. No special skills, no pipe wrenches, no shutting off the water to the whole house. This is one of the most beginner-friendly plumbing jobs there is — which is exactly why I had my 12-year-old do most of the actual work while I guided him through it.
Step 1 — Remove the Old Showerhead
Start by wrapping your rag around the base of the existing showerhead where it meets the shower arm (the pipe coming out of the wall). This protects the chrome finish from getting scratched by your pliers. Grip the showerhead collar firmly and turn counterclockwise to loosen it. In most cases, hand pressure alone will get it moving once you break the initial seal. If it’s been on there for years and won’t budge, use your pliers — gently, with the rag as a buffer.
Once it breaks free, unscrew it the rest of the way by hand and set it aside. Take a look at the end of the shower arm. You’ll probably see old Teflon tape wrapped around the threads, and possibly some white mineral buildup. Use your toothbrush — or an old one the boys have retired — to clean the threads thoroughly. If the buildup is heavy, soak a cloth in white vinegar, wrap it around the arm for a few minutes, and then scrub. Clean threads are essential for a leak-free seal.
Step 2 — Apply Fresh Teflon Tape
This step is small but critical. Take your Teflon tape and wrap it clockwise around the shower arm threads — meaning you wrap in the same direction that you’ll be tightening the new showerhead. Two to three full wraps is enough. Press the tape into the threads slightly as you go so it seats well. Teflon tape is what creates the watertight seal between the arm and the showerhead. Skip this step or do it wrong, and you’ll have a dripping connection the first time you turn the water on.
My 12-year-old was fascinated by this step. He wanted to know why the tape works, which turned into a quick conversation about how threads compress the tape into microscopic gaps that water would otherwise find. That’s the kind of spontaneous science lesson that sticks a lot better than a worksheet. I genuinely believe God puts these little teaching moments right in front of you if you’re paying attention.
Step 3 — Install the New Showerhead
Thread the new showerhead onto the shower arm by hand first. Turn it clockwise until it feels snug. You want to get it as tight as you can by hand before reaching for the pliers. Once hand-tight, use your pliers with the rag protecting the finish to give it one final quarter-turn snug — firm, but not aggressive. Over-tightening can crack the showerhead fitting or damage the shower arm threads, and that turns a simple job into a much bigger one. Snug and secure is the goal, not gorilla-grip tight.
Make sure the showerhead is pointed in the right direction before you fully tighten it. Most adjustable showerheads can be angled after installation, but fixed-mount heads need to be oriented correctly during tightening. Aim for a slight downward angle toward the center of the shower floor.
Step 4 — Test for Leaks
Turn the shower on and let the water run for a full minute. Watch the connection point at the wall carefully. Run your finger around the base of the showerhead collar. If you feel or see any dripping, turn the water off, dry the threads, and check that your Teflon tape is seated properly. In most cases, a single additional quarter-turn with the pliers will close up any minor weeping at the connection.
Check the spray pattern as well. If some holes are still partially blocked from mineral buildup — which sometimes happens with a new showerhead right out of the box if it sat in a warehouse — you can use a toothpick or a pin to clear individual nozzles. Many modern showerheads have soft rubber nozzles that you can simply rub with your finger to clear any blockage.
Step 5 — Clean Up and Test the Full Pressure
Once your connection is confirmed leak-free, take a moment to wipe down the shower arm and the new showerhead with a dry cloth. If you got any water on the wall or the tub, dry that too — standing water left on grout or caulk just invites mold and deterioration over time. Speaking of which, if your bathroom caulk is looking cracked or peeling, that’s a separate job worth addressing — you can find a full walkthrough in my guide to caulking your bathroom like a pro.
Take a full shower to test the pressure and spray pattern. You’ve earned it.
Choosing the Right Replacement Showerhead
Walk into any hardware store and you’ll find a wall of showerheads at every price point. Here’s what actually matters when choosing one for your family:
- WaterSense certification — Look for the EPA WaterSense label. These showerheads use 2.0 gallons per minute or less while maintaining solid pressure. They save water without sacrificing the shower experience.
- Spray settings — For a family with four boys at different ages, an adjustable multi-setting showerhead is worth the few extra dollars. You get a gentle setting for the little ones and a strong massage setting for sore muscles after a long day of yard work.
- Finish — Match your existing hardware (chrome, brushed nickel, oil-rubbed bronze). A $20 showerhead in the wrong finish looks out of place; the same showerhead in the right finish looks intentional.
- Material — Solid brass or stainless steel internals will outlast plastic every time. The external shell can be whatever finish you like, but look for metal internals when possible.
- Budget range — A quality showerhead for a residential bathroom runs anywhere from $20 to $60. You do not need to spend more than that unless you’re installing a spa system. The $25–$40 range is the sweet spot.
What About a Handheld Showerhead?
If you have young kids in the house, a handheld showerhead on a slide bar is genuinely one of the most useful upgrades you can make to a bathroom. My 6-year-old’s bath routine became dramatically easier when we installed one — rinsing shampoo out of a squirming six-year-old’s hair without soaking the entire bathroom is a skill that requires the right tools. Installation is nearly identical to what I’ve described above, with the addition of mounting a slide bar to the wall using the included hardware and anchors. The whole job still takes under an hour.
For the bathroom exhaust fan — another important piece of bathroom ventilation that often gets overlooked — take a look at my guide to replacing a bathroom exhaust fan. Good ventilation and proper caulking keep a bathroom healthy for years.
When to Call a Plumber Instead
Showerhead replacement is as close to a no-risk DIY job as you’ll find. But there are a couple of situations where you should stop and call a licensed plumber:
- The shower arm is corroded or cracked. If you try to remove the old showerhead and the arm spins freely or you see cracks in the pipe, stop immediately. The arm threads into a fitting inside the wall, and forcing a damaged arm can break that fitting — turning a $25 job into a $500 repair.
- You have persistent low pressure throughout the house. If it’s not just your showerhead but multiple fixtures showing weak pressure, the issue may be with your main supply line, pressure regulator, or water heater — none of which are showerhead problems.
- There’s water damage in the wall behind the shower. If you notice soft drywall, discoloration, or mold around the shower area, that’s a sign of a deeper leak that needs professional attention before you do anything else. I covered water intrusion in detail in my guide to fixing a leaky basement, and the same investigative mindset applies to shower walls.
The Bigger Picture
I know replacing a showerhead sounds almost too simple to write a full post about. But here’s what I keep coming back to: every small repair you handle yourself is a vote of confidence in your own ability to take care of your home. It’s a reminder that most of the things that go wrong around a house are fixable — not by a specialist, not with expensive equipment, but by a willing person with basic tools and a willingness to read the instructions.
My boys are learning that. My 15-year-old can now handle basic plumbing repairs without me hovering. My 10-year-old knows what Teflon tape is and why it matters. My 12-year-old replaced this showerhead mostly on his own. And my 6-year-old handed me tools and asked questions the whole time. That’s the education I care most about — not just the academic kind, though we work hard on that too. It’s the kind of education that will serve them every single day of their adult lives.
Take twenty-five minutes this weekend. Replace that showerhead. Show a kid how it’s done. You’ll save money, improve your shower, and walk away feeling like exactly the kind of capable, competent homeowner you already are — you just needed a little reminder.
